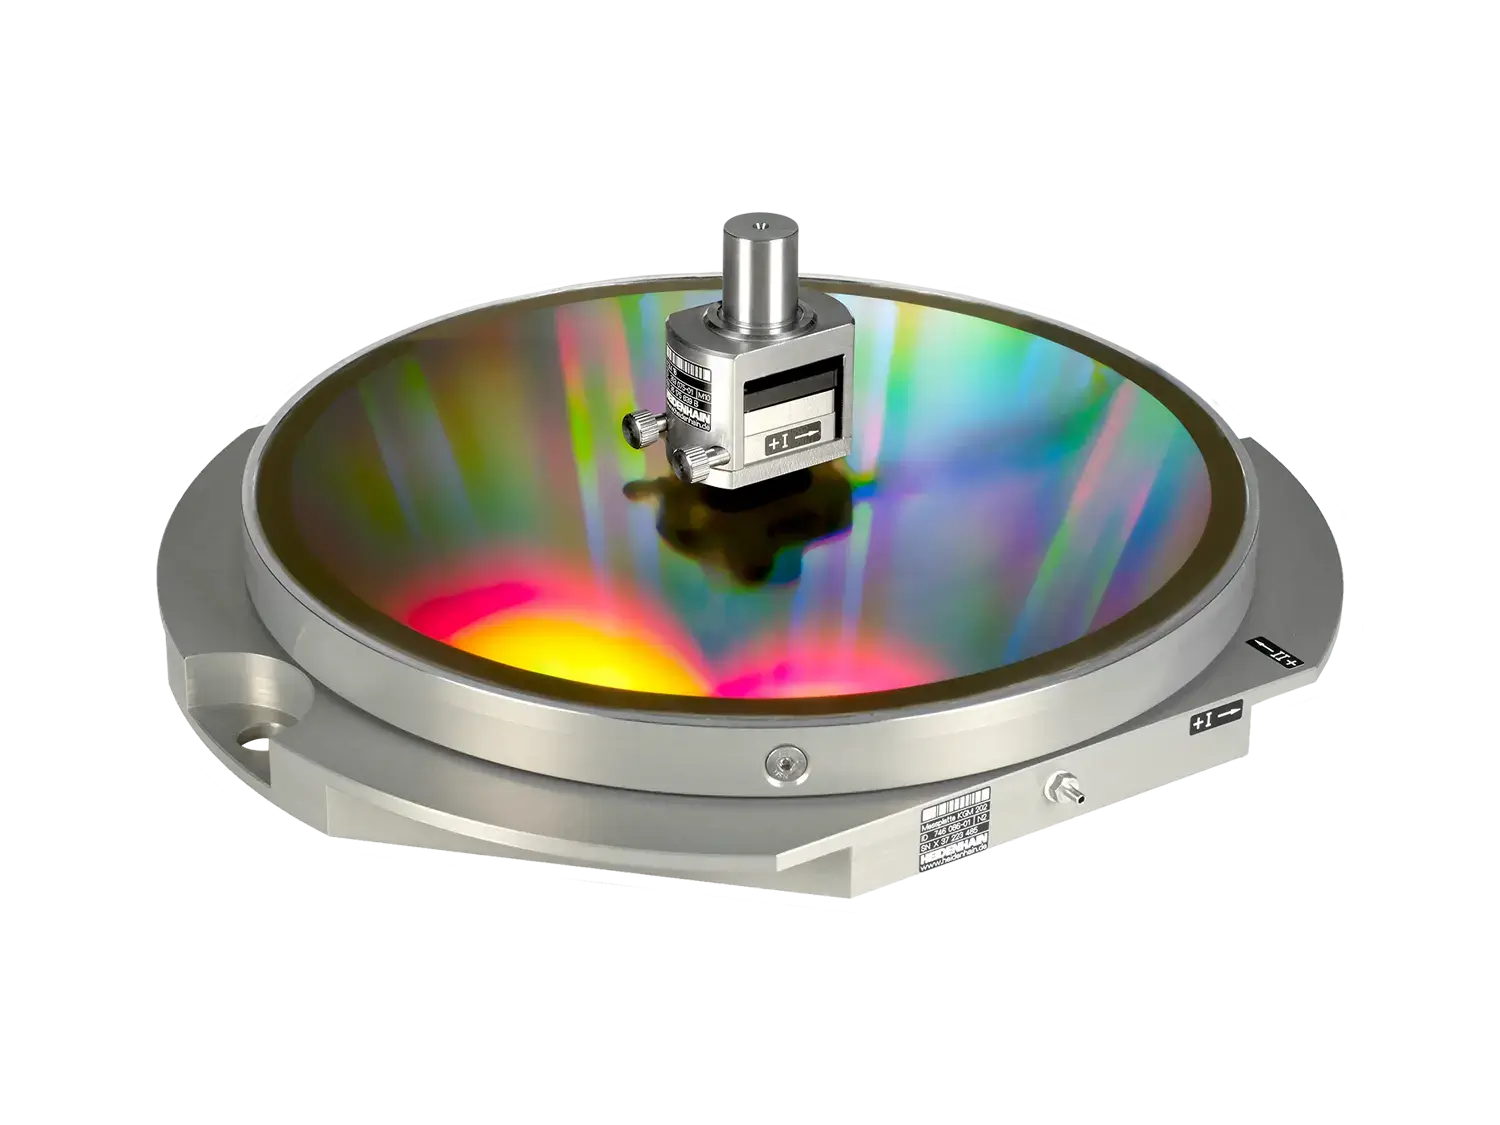
KGM 200 series grid encoders
Encoders for static and dynamic contouring accuracy inspection of CNC machine tools
- Machine tool inspection and acceptance testing (as per ISO 230-2, ISO 230-3, ISO 230-4, and VDI/DGQ 3441)
- Parameterization and testing of the Dynamic Precision and Dynamic Efficiency functionality packages for the TNC
- Direct inspection method for static and dynamic behavior
- Zero-contact and zero-wear scanning
- Measurement of any circular diameter and freeform shape in the working plane
- Optimal results with the EIB 741 interface box and ACCOM software for the PC

Analyze thermal behavior
The frictional heat created within moving ball screws affects their positioning accuracy, particularly when only motor feedback is used for motion control. Positioning tests in accordance with ISO 230-3 enable thermal-behavior analysis through repeated positioning to two points within the measuring range.
Axis positioning accuracy
The positioning accuracy and repeatability of a machine tool’s linear axes can be determined by moving them to specified positions while measuring them with the KGM 200 encoders. In the process, you can also measure the guideway accuracy perpendicular to the direction of the machine slides.
Circularity testing
The data measured during circular interpolation testing allows you to identify the causes of innacuracy. Circular interpolation tests with large radii deliver machine geometry data. While tests with small radii provide data about motion-control accuracy under high axis acceleration (radii: from 0.1 mm to 115 mm).
Free-form testing
In free-form testing, the CNC control traverses a programmed free-form contour within a single plane. The KGM 200 encoders measure the actual contour traversed. The amount of detected error can be visualized with the ACCOM software, allowing you to analyze the dynamic behavior of your machine.

